


Introduction
The project involves deploying a Django Todo app on AWS EC2 using Kubeadm Kubernetes cluster. (Master and Worker Node)
Kubernetes Cluster helps in the Auto-scaling and Auto-healing of your application.
This project involves deploying a Django Todo app on AWS EC2 using a Kubeadm Kubernetes cluster by efficient and scalable application management. Leveraging the power of Kubernetes, this project goes beyond traditional deployment methods by introducing auto-scaling mechanisms, elevating the application's resilience and performance.
In this exploration, we delve into the orchestration capabilities of Kubernetes, unveiling how it streamlines the deployment process and enhances the overall operational robustness of the Django Todo app on the AWS EC2 infrastructure.
Task-01
Get a Django Full Stack application from your GitHub repository.
Setup the Kubernetes cluster using this script
Setup Deployment and Service for Kubernetes.
To work on the project, you can follow the below steps:
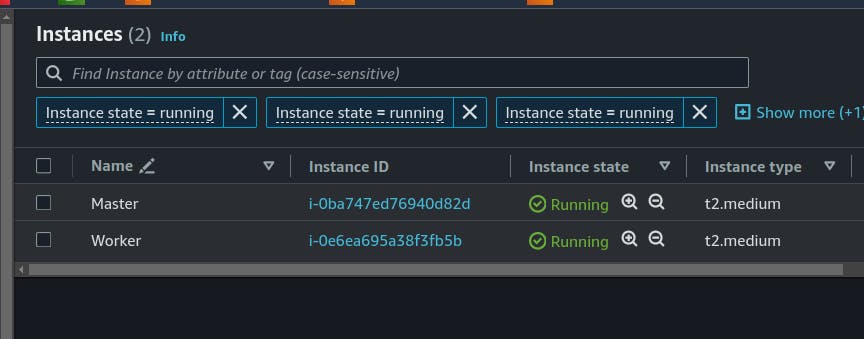
Step 1: Create 2 EC2 instances
To configure the Kubernetes cluster, we will need to initialize two EC2 instances using t2.medium
Step 2: Install Kubeadm
You can refer to the blog - Day 43: Deployment of a Microservices Application on K8s: Assignment-1 on how to install Kubeadm on both nodes.
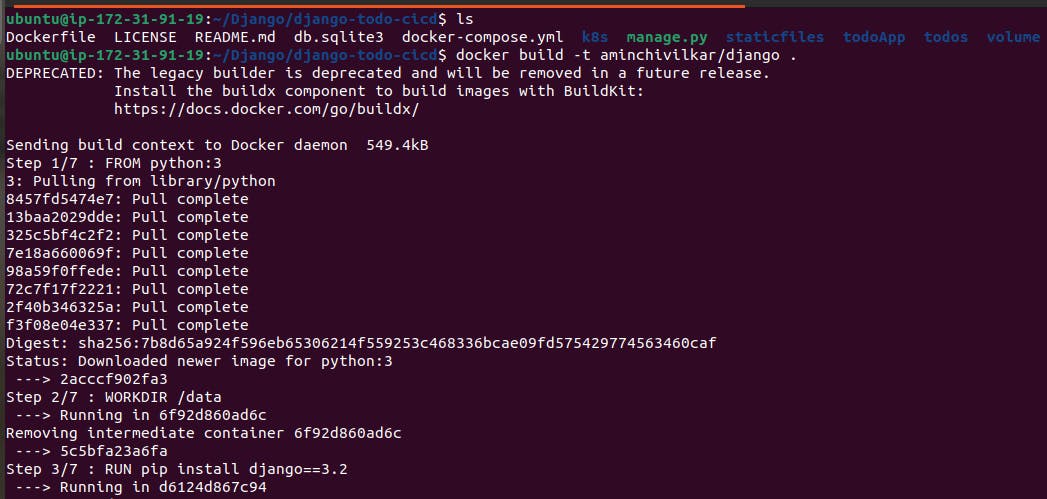
Step 3: Build Image
To build a Docker image using a Dockerfile, you can follow these steps:
Create a file named Dockerfile (without any file extension) in your project directory. This file contains instructions for building the Docker image.
FROM python:3

WORKDIR /data

RUN pip install django==3.2

COPY . .

RUN python manage.py migrate

EXPOSE 8000

CMD ["python","manage.py","runserver","0.0.0.0:8000"]
Open a terminal and navigate to the directory containing your Dockerfile. Run the following command to build the Docker image:
docker build -t your-image-name:tag .
Replace your-image-name:tag with a name and tag for your Docker image.
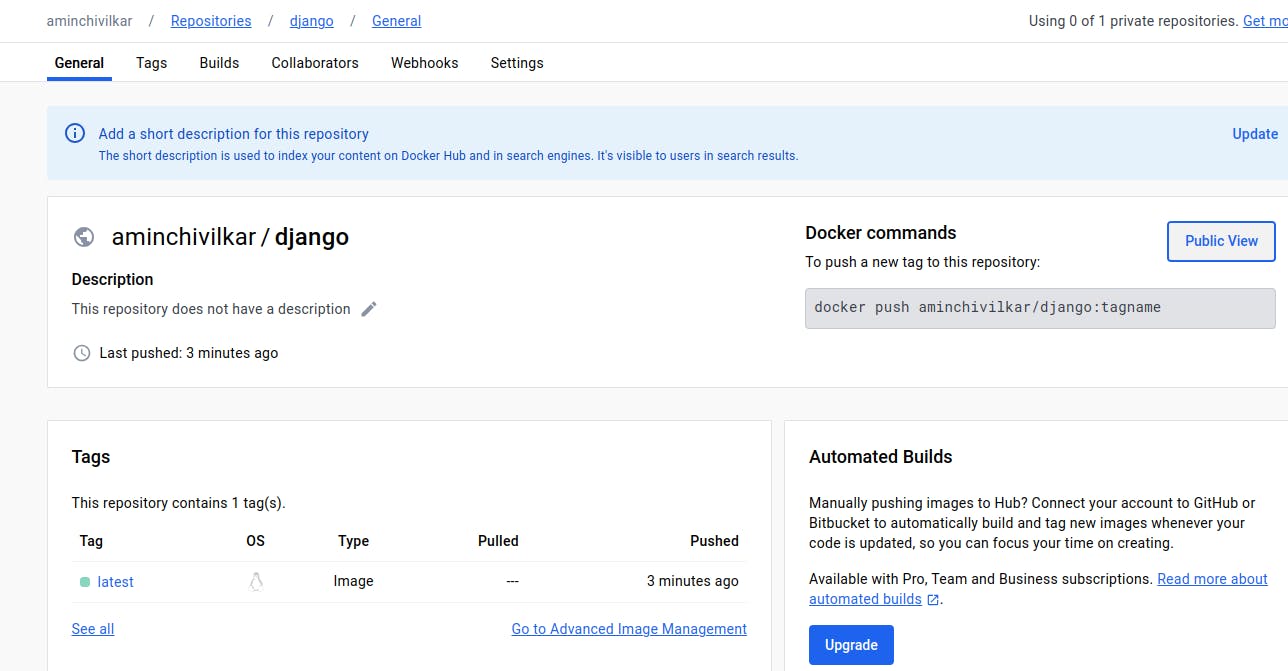
Step 4: Push the image to DockerHub
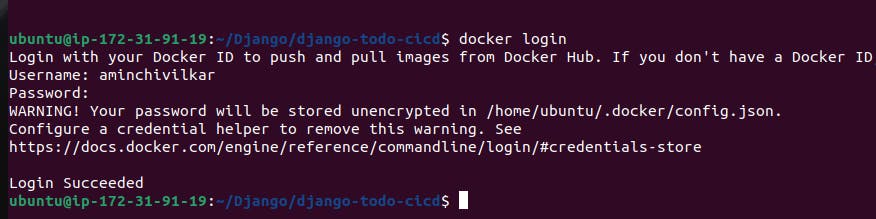
To push the image to DockerHub, you will need to log in via the command line, you can use the below command.
docker login
You will be prompted to enter your Docker Hub username and password.
To push a Docker image to Docker Hub, use the below command:
docker push your-dockerhub-username/your-image-name:tag
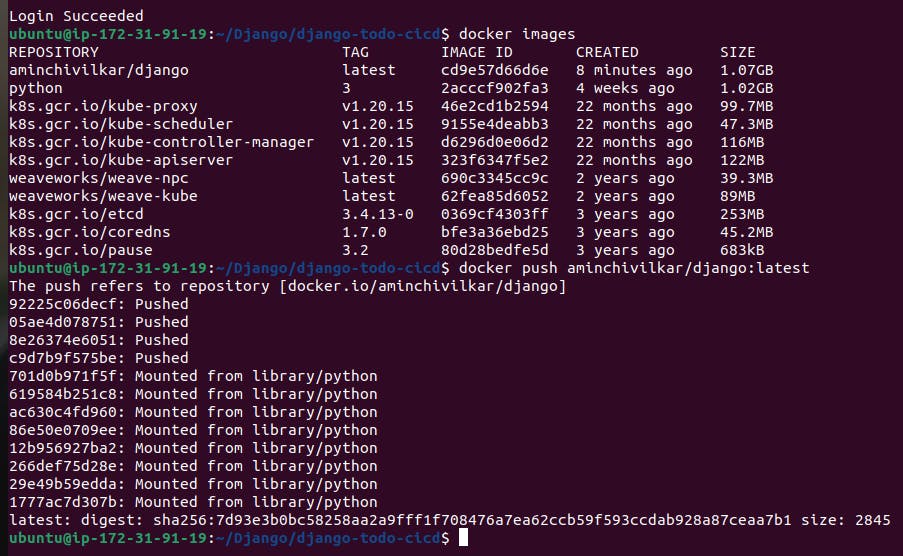
The image is on the DockerHub
Step 5: Kubernetes Deployment
Below YAML is the basic example of deployment in kubernetes, and depending on your application, you might need additional configurations such as environment variables, volume mounts, or resource constraints.
apiVersion: apps/v1
kind: Deployment
metadata:
  name: todo-deployment
  labels:
    app: todo-app
spec:
  replicas: 2
  selector:
    matchLabels:
      app: todo-app
  template:
    metadata:
      labels:
        app: todo-app
    spec:
      containers:
      - name: todo-app
        image: aminchivilkar/django:latest
        ports:
        - containerPort: 8000
Apply the deployment to your Kubernetes cluster:
kubectl apply -f deployment.yaml
This command applies the configuration in your deployment.yaml file to your Kubernetes cluster.
Verify the deployment:
kubectl get deployments
kubectl get pods
These commands will show you the status of your deployment and the running pods.

Step 6: Kubernetes Service
Create a YAML file, for example, service.yaml, and define your service configuration. Below is a basic example:
apiVersion: v1
kind: Service
metadata:
  name: todo-service
spec:
  type: NodePort
  selector:
    app: todo-app
  ports:
    - port: 80
      targetPort: 8000
      nodePort: 30007
Run the following command to apply the Service configuration to your cluster:
kubectl apply -f service.yaml
Use the following command to check the status of your service:
kubectl get services
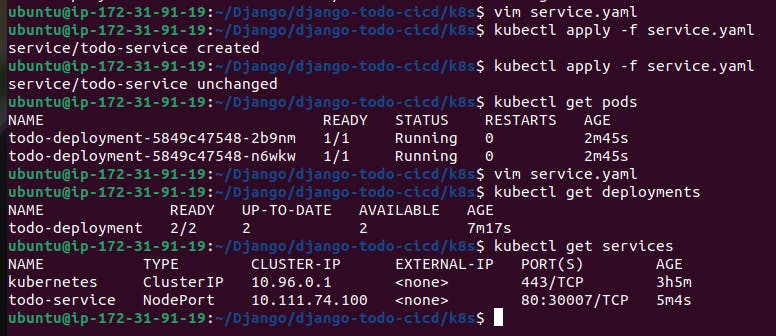
This command will show details about your service, including its type (LoadBalancer, NodePort, ClusterIP), external IP (if applicable), and ports.
Step 7: Run the project
Access the worker node public IP: worker-public-ID:30007
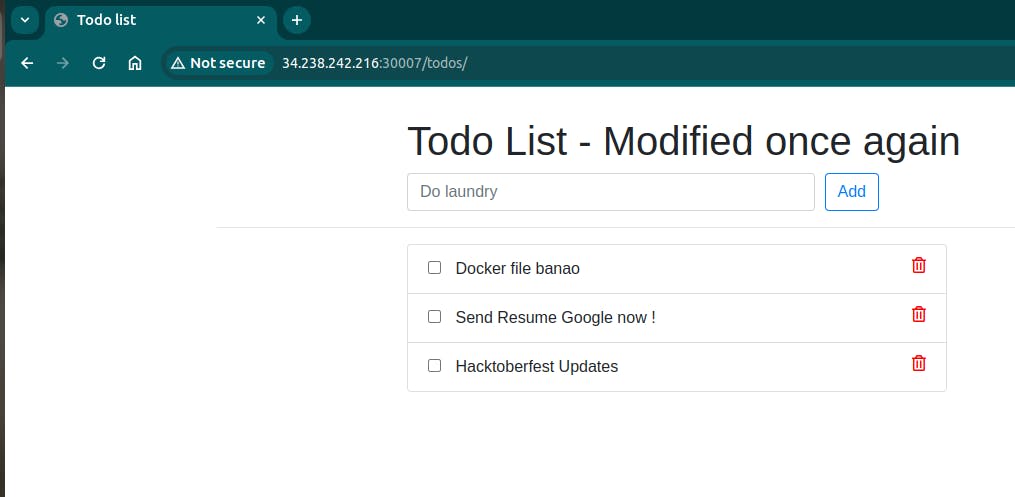
You have successfully deployed the Django Todo App.
Conclusion:
In conclusion, this blog has walked you through the process of deploying a Django application on a Kubernetes cluster. From setting up EC2 instances, installing Kubeadm, building and pushing Docker images to DockerHub, to configuring Kubernetes Deployment and Service, each step has been detailed. By following these clear instructions, you've successfully orchestrated the deployment and can now access your project via the worker node's public IP. This project serves as a practical guide for anyone looking to dive into Kubernetes and containerized application deployment.
Hope you like my post. Don't forget to like, comment, and share.